2. Preparation Steps
Environment Setup
1. Create S3 Buckets for Data Storage
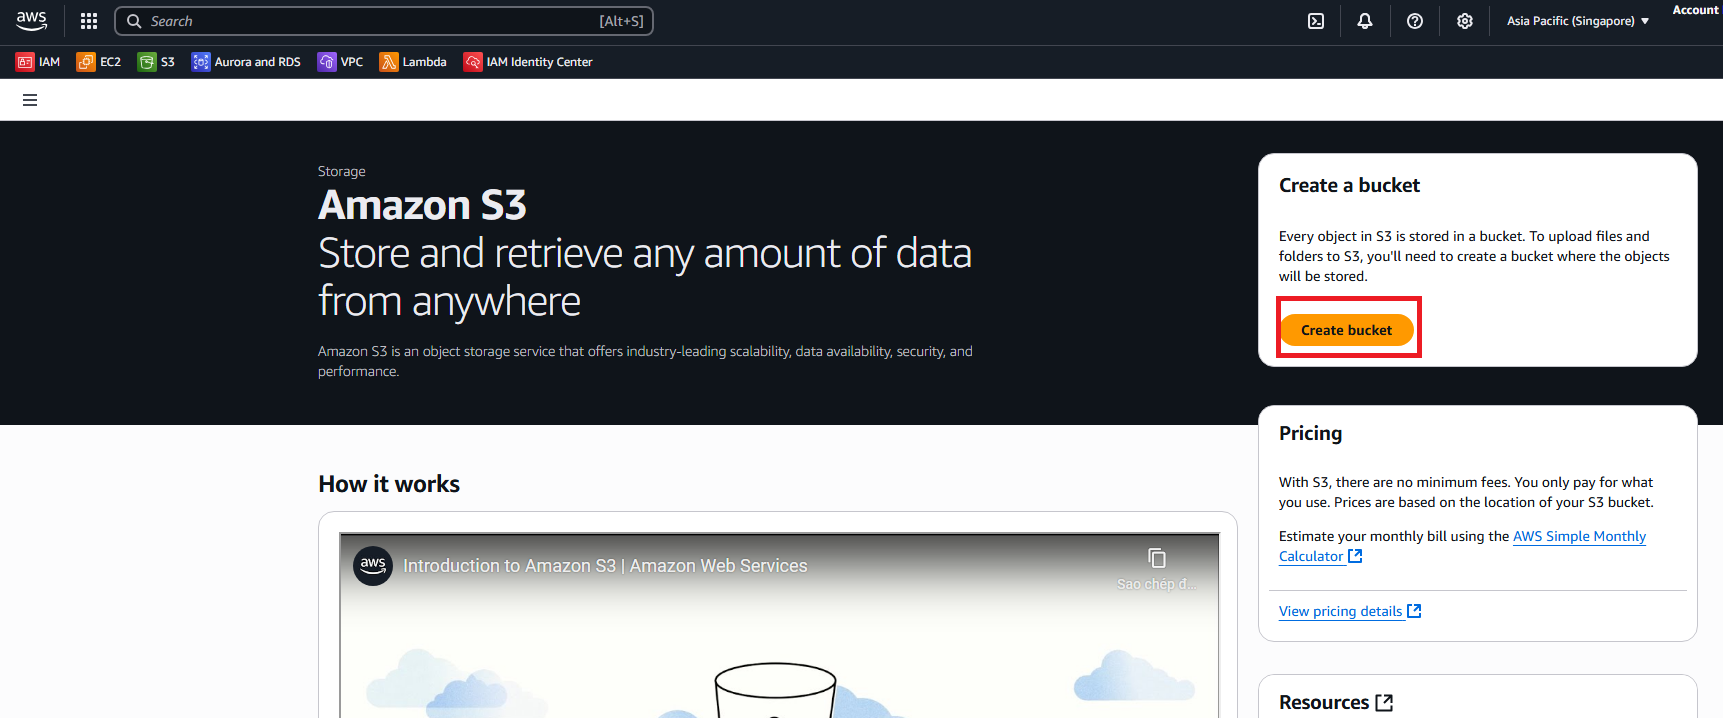
- Navigate to Amazon S3 service in the AWS Console
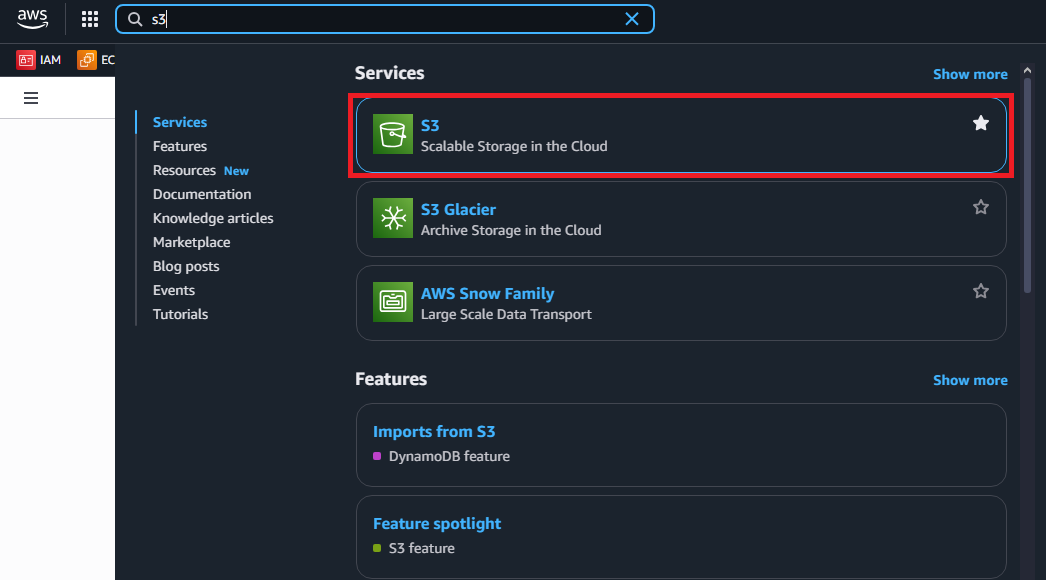
- Click Create bucket
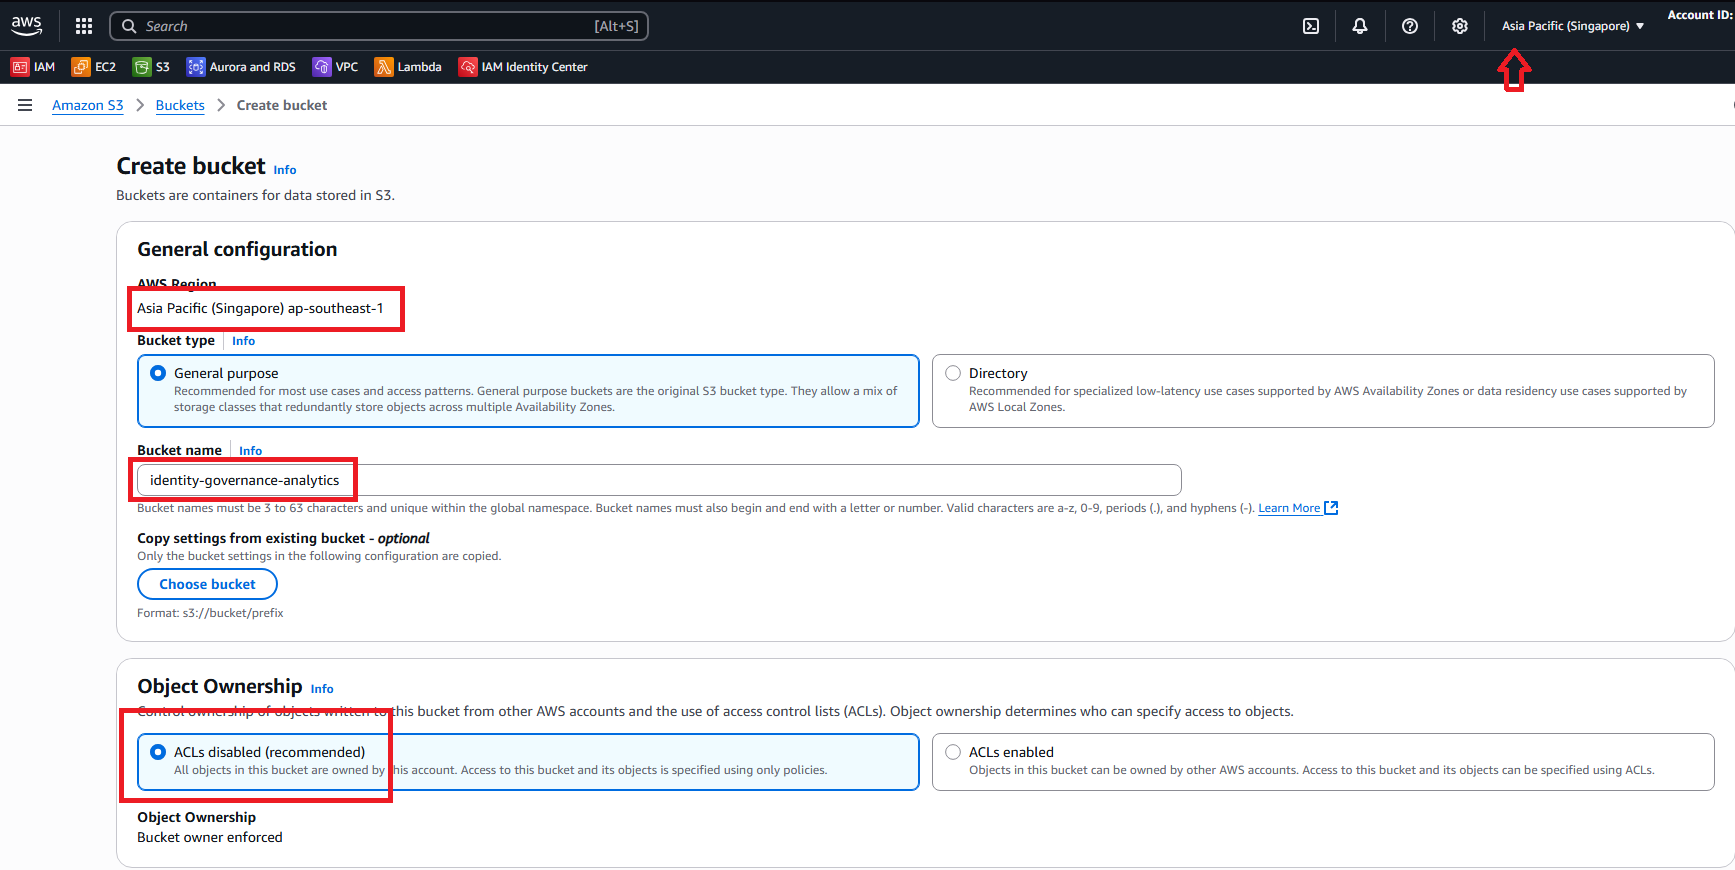
- Create first bucket for analytics data:
- Bucket name:
identity-governance-analytics - AWS Region: Select your preferred region (e.g., us-east-1)
- Object Ownership: ACLs disabled (recommended)
- Bucket name:
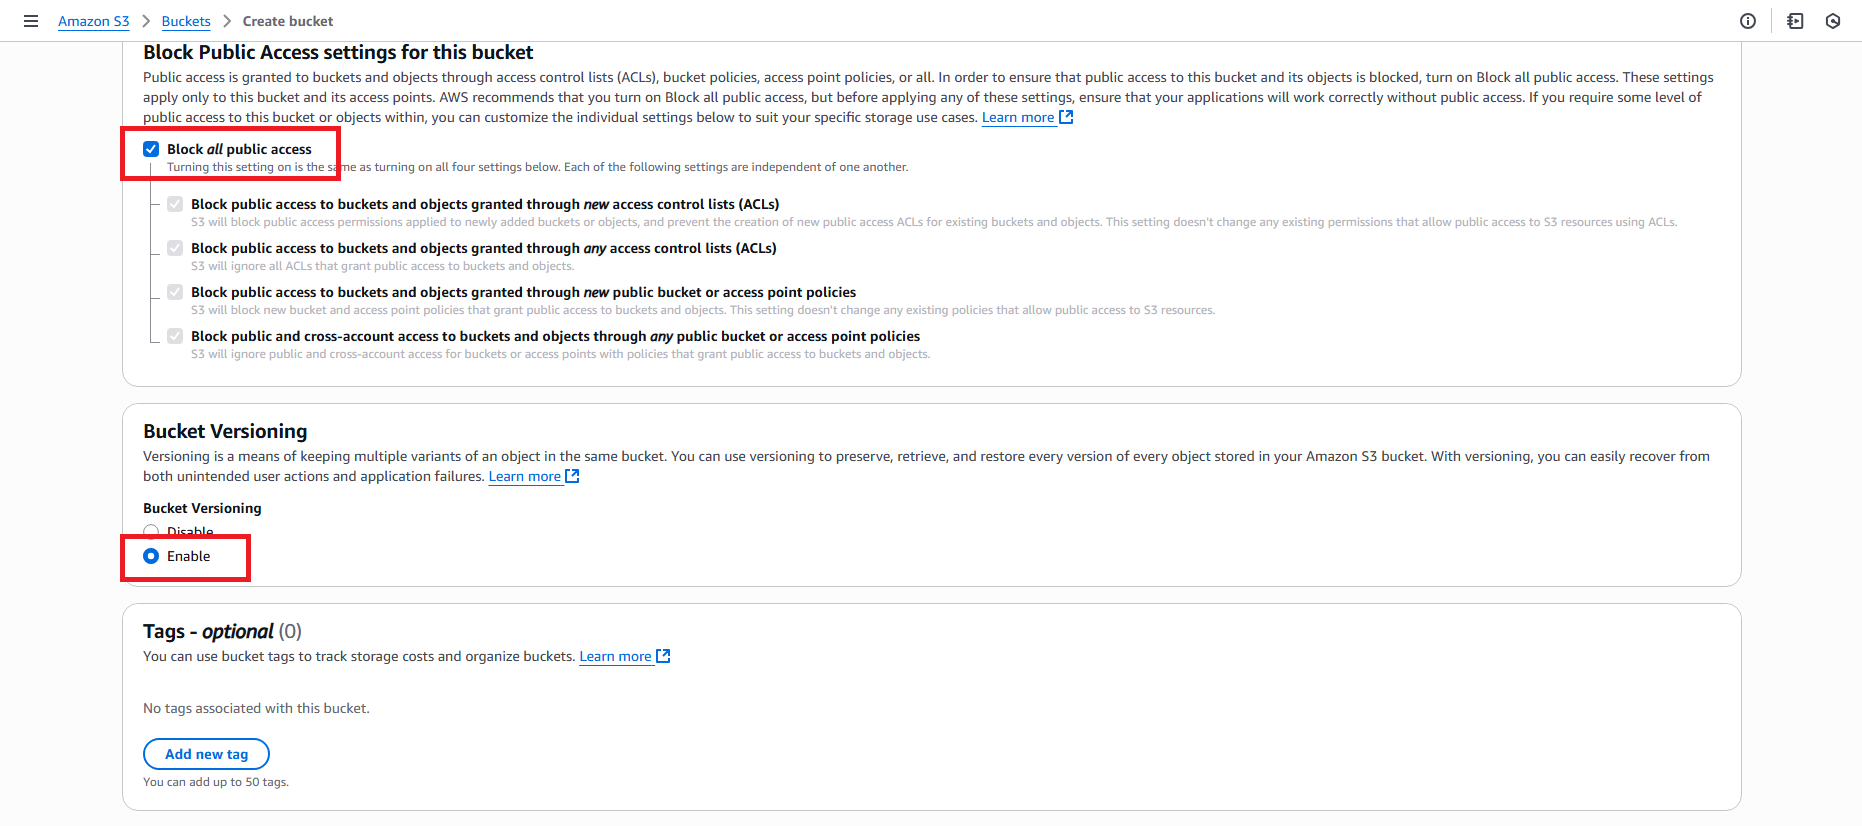
- Block Public Access settings: Keep all blocked (recommended)
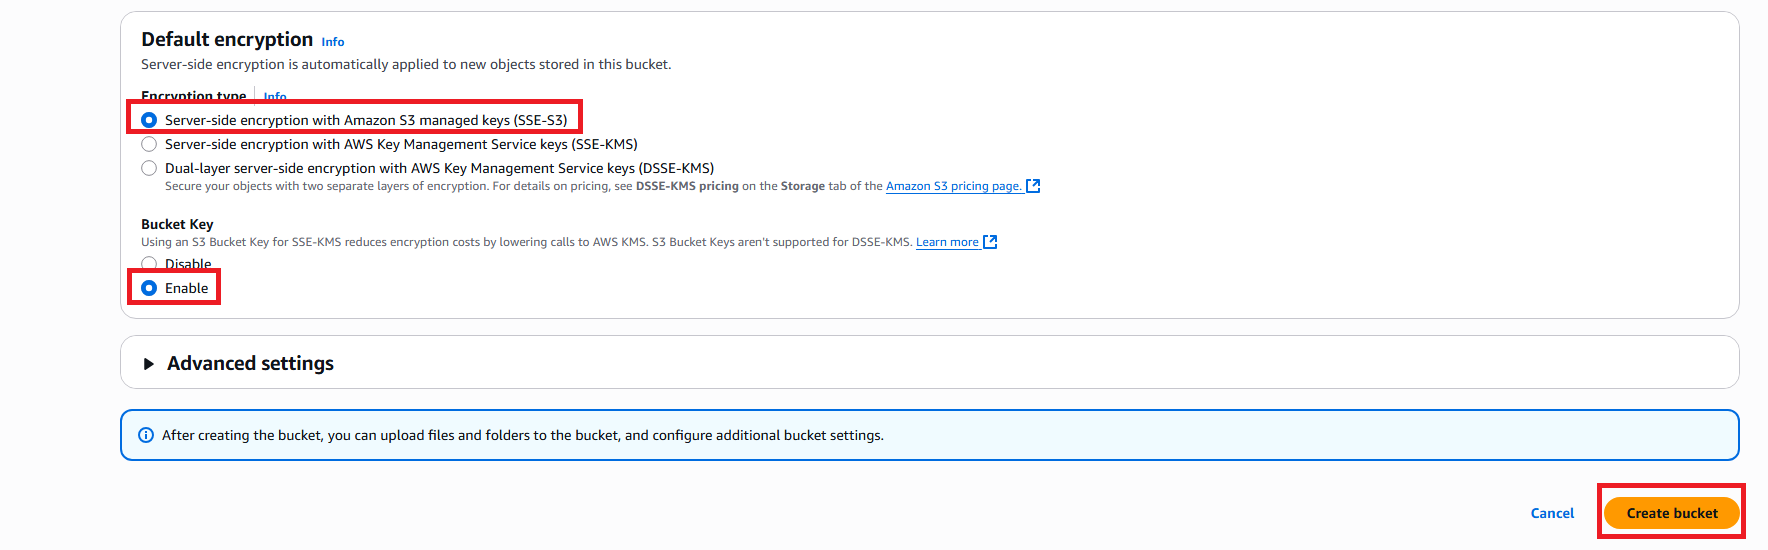
- Bucket Versioning: Enable
- Default encryption: Server-side encryption with Amazon S3 managed keys (SSE-S3)
- Bucket Key: Enable
- Click Create bucket
- Create second bucket for compliance reports:
- Bucket name:
identity-governance-reports - AWS Region: Same as first bucket
- Object Ownership: ACLs disabled (recommended)
- Block Public Access settings: Keep all blocked (recommended)
- Bucket Versioning: Enable
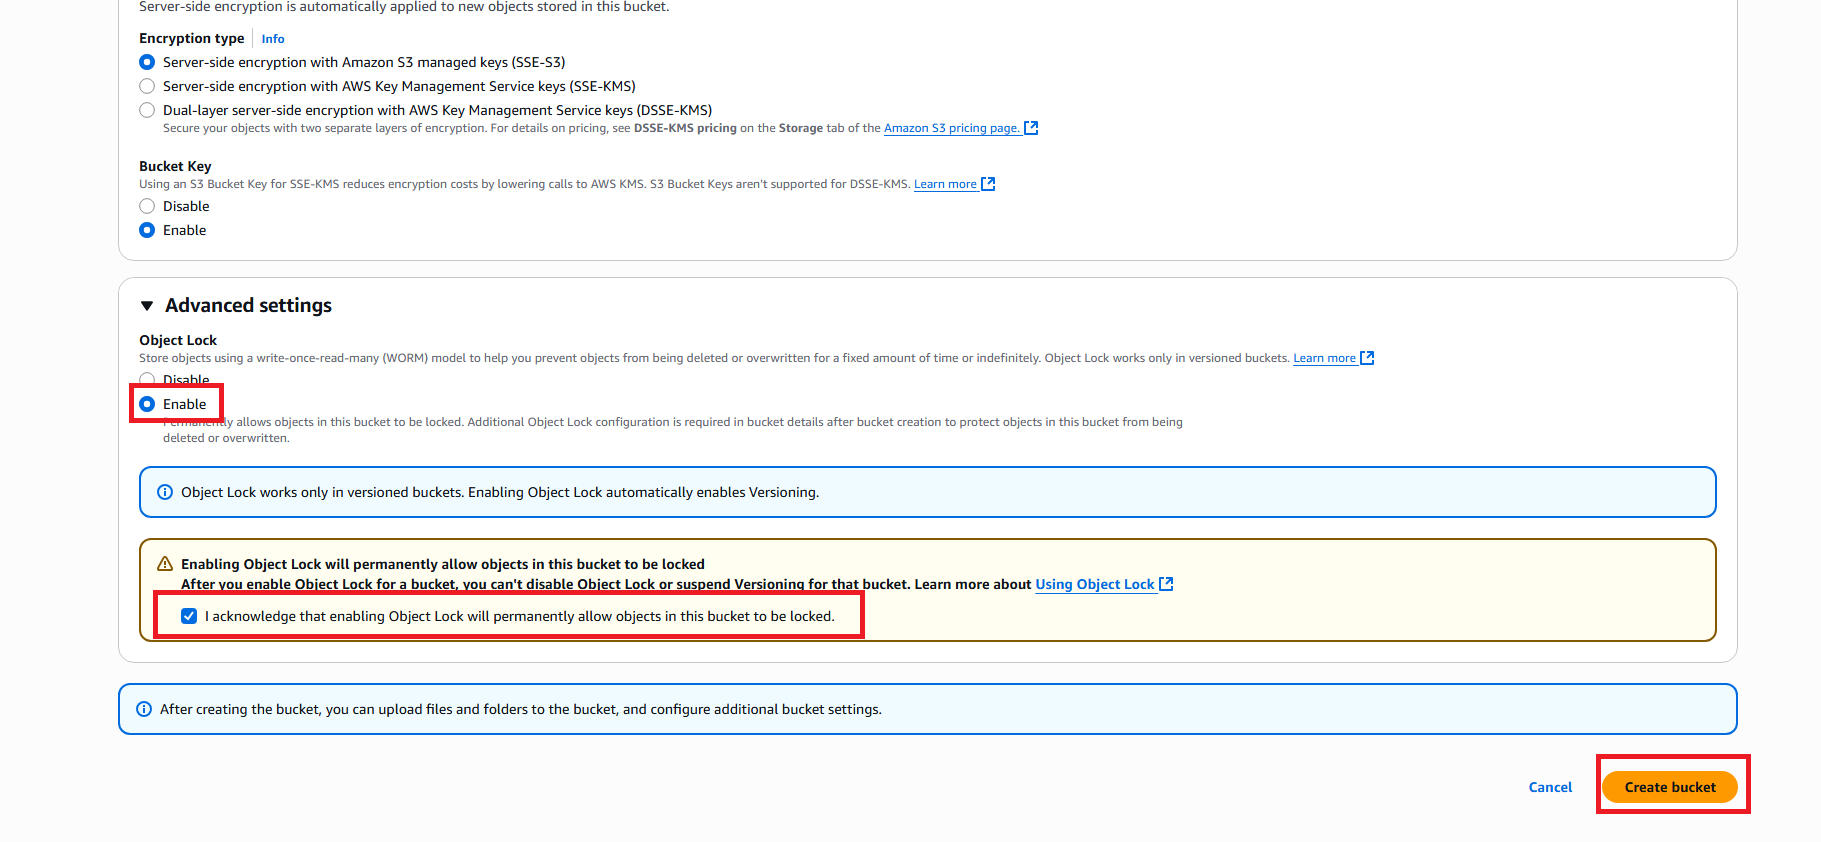
- Default encryption: Server-side encryption with Amazon S3 managed keys (SSE-S3)
- Bucket Key: Enable
- Object Lock: Enable for compliance retention
- Bucket name:
- Click Create bucket
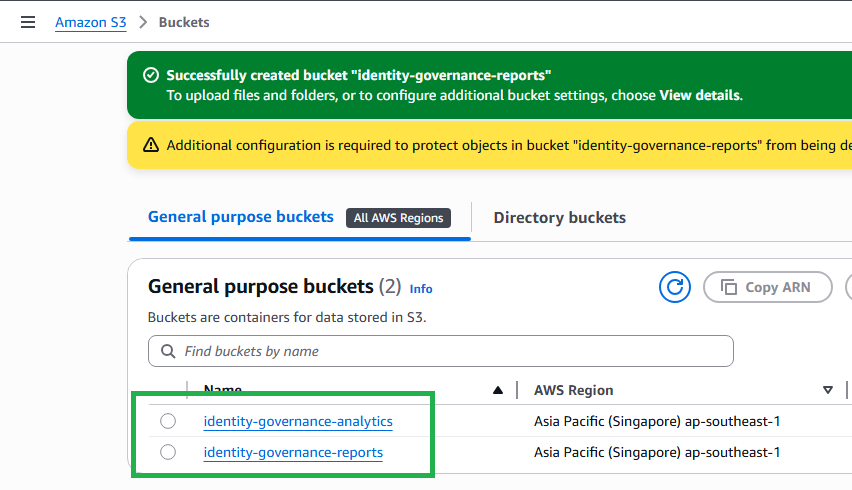
- Verify both buckets are created successfully:
Infrastructure Preparation
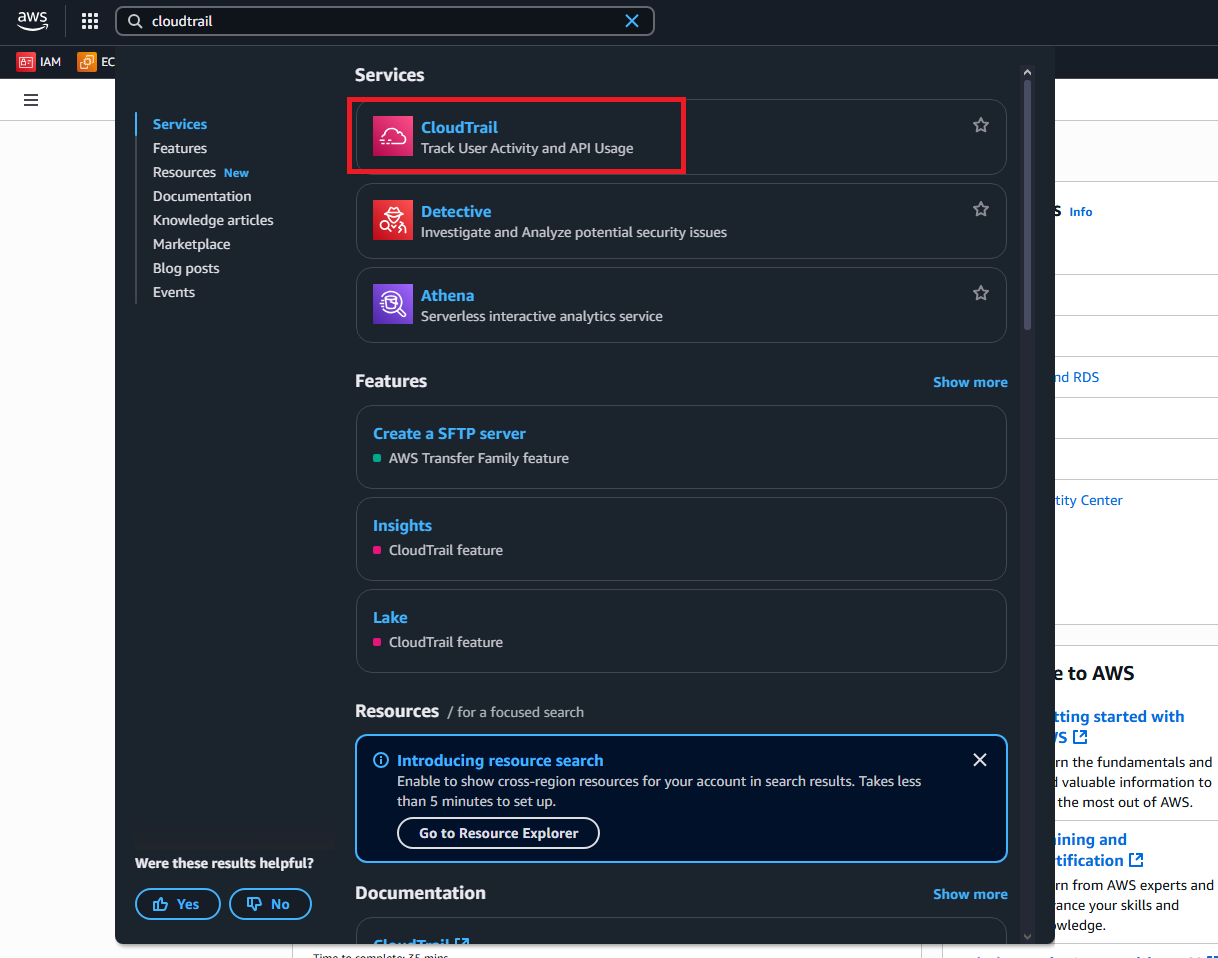
1. Enable AWS CloudTrail
- Navigate to CloudTrail service in AWS Console
- Click Create trail

Step 1: General details
- Enter basic information:
- Trail name:
IdentityGovernanceTrail - Enable for all accounts in my organization: Leave unchecked
- Trail name:
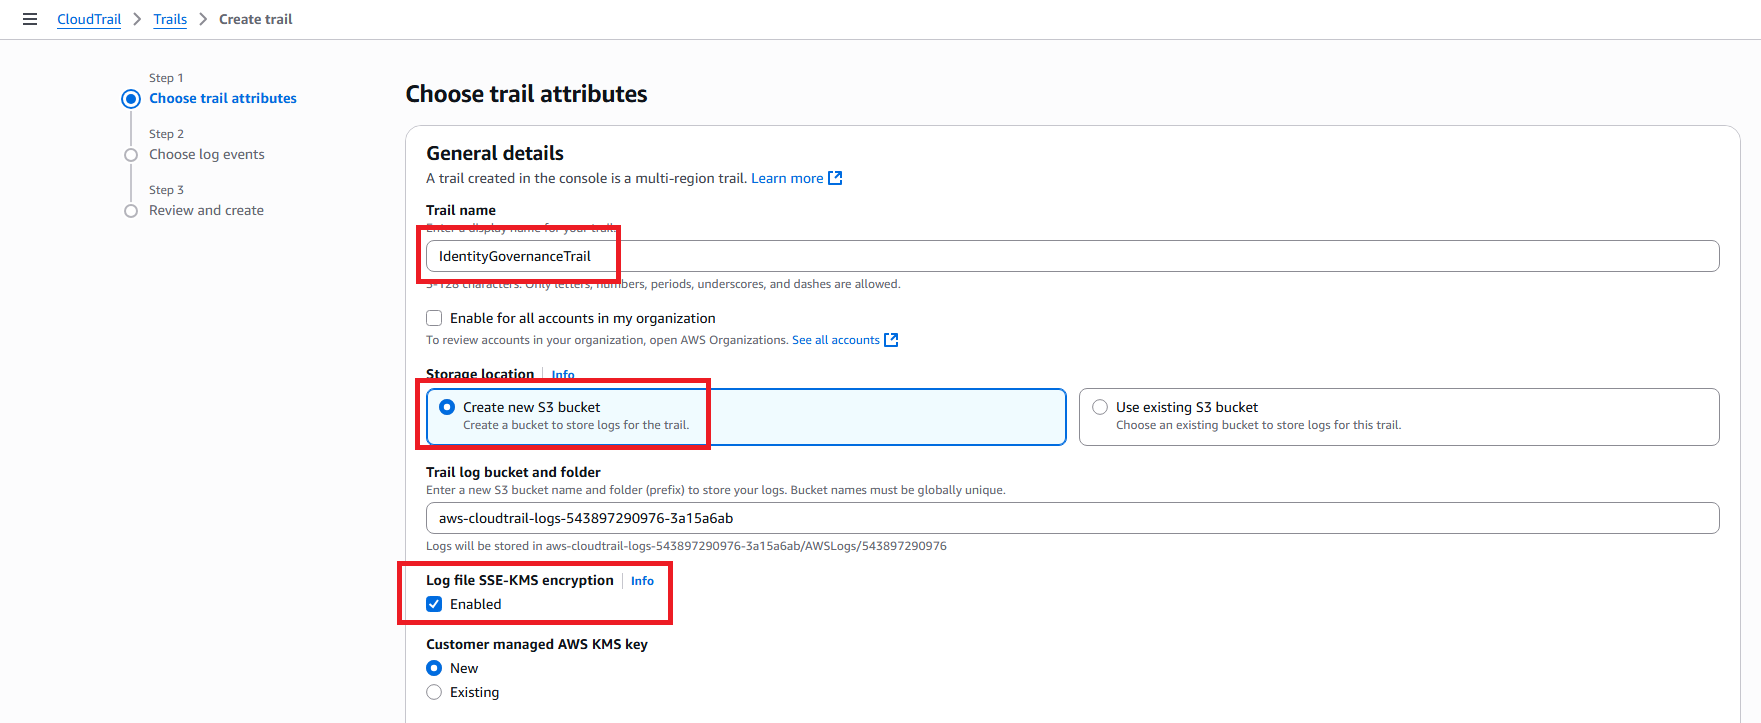
Step 2: S3 bucket configuration
Configure S3 storage:
- Create new S3 bucket: Select this option (LEAVE BLANK - DO NOT select “Use existing S3 bucket”)
- S3 bucket name: CloudTrail will auto-generate name (e.g., aws-cloudtrail-logs-123456789012-abc12345)
Configure security settings:
- Log file SSE-KMS encryption: Unchecked (keep default)
- Log file validation: Checked (recommended)
Step 3: CloudWatch Logs (Optional)
CloudWatch Logs configuration:
- CloudWatch Logs: Unchecked (skip for now)
Click Next
Step 4: Choose log events
- Select event types to log:
- Management events: Checked
- Read: Checked
- Write: Checked
- Data events: Unchecked (skip)
- Insight events: Unchecked (skip)
- Management events: Checked
- Click Next
Step 5: Review and create
- Review configuration:
- Confirm trail name
- Confirm new S3 bucket will be created
- Confirm management events are enabled
- Click Create trail IMPORTANT:
- NEVER select the
identity-governance-analyticsbucket or any bucket you created before - ALWAYS choose “Create new S3 bucket” to let CloudTrail create its own bucket
- CloudTrail will automatically configure the correct bucket policy, avoiding
InsufficientS3BucketPolicyExceptionerror
2. Enable AWS Security Hub
- Navigate to AWS Security Hub service in AWS Console
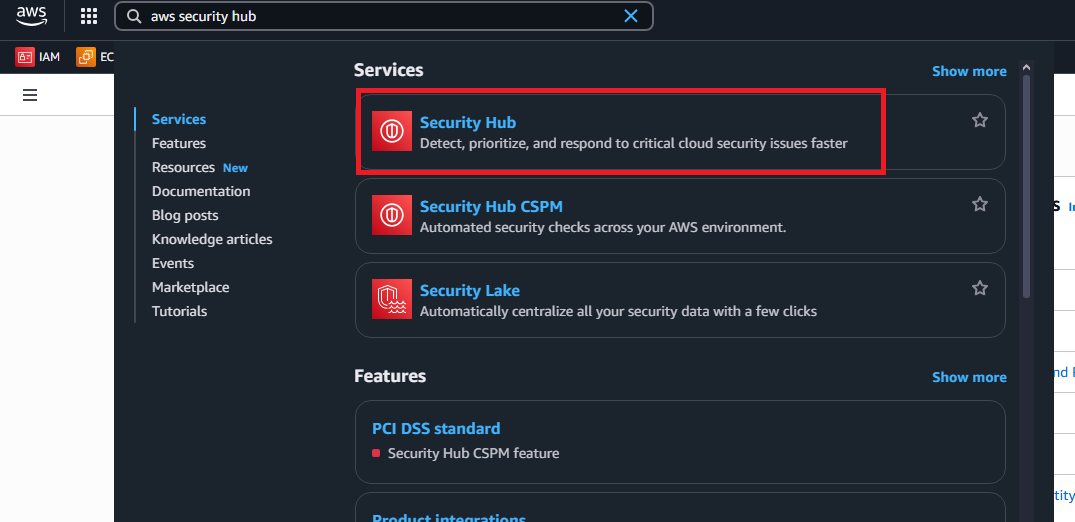
- You’ll see the Security Hub Onboard page
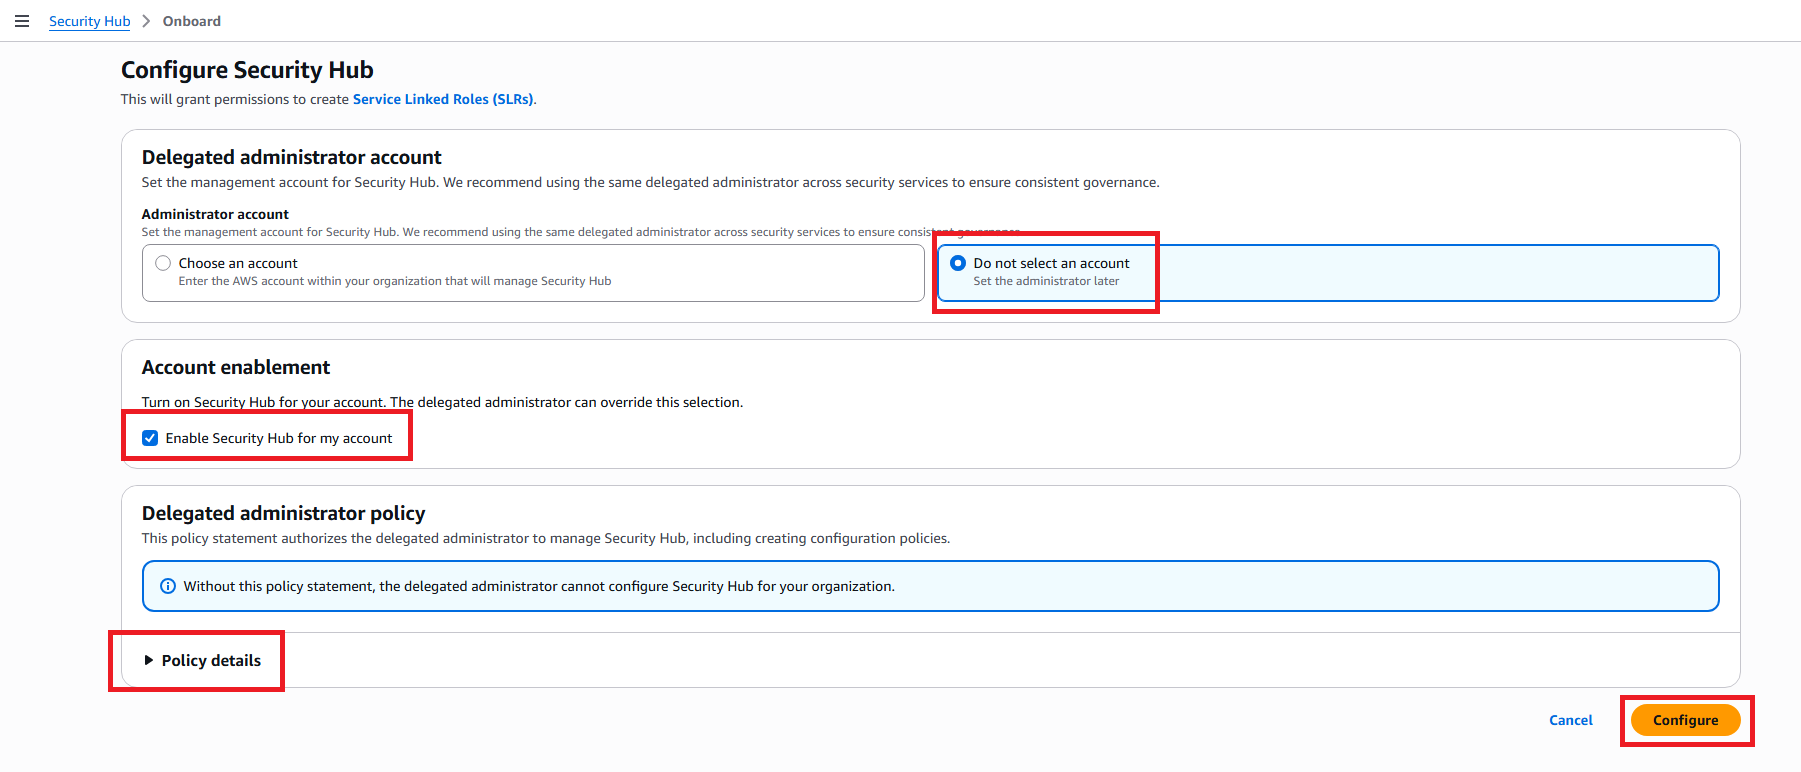
Step 1: Configure Security Hub
- In the Configure Security Hub section:
- Read information about Service Linked Roles (SLRs)
- Keep default settings
Step 2: Delegated Administrator Account
- In the Delegated administrator account section:
- Choose Do not select an account (for single account setup)
Step 3: Account Enablement
- In the Account enablement section:
- ☑️ Enable Security Hub for my account (keep checked)
Step 4: Delegated Administrator Policy
- In the Delegated administrator policy section:
- Read policy details
- Keep default settings
- Click Onboard at the bottom of the page
Step 5: Verify successful activation
- After successful onboarding, you’ll see the Security Hub dashboard:
- Security score displayed
- Findings start being collected
- Standards automatically enabled

3. Create DynamoDB Tables
- Navigate to DynamoDB service
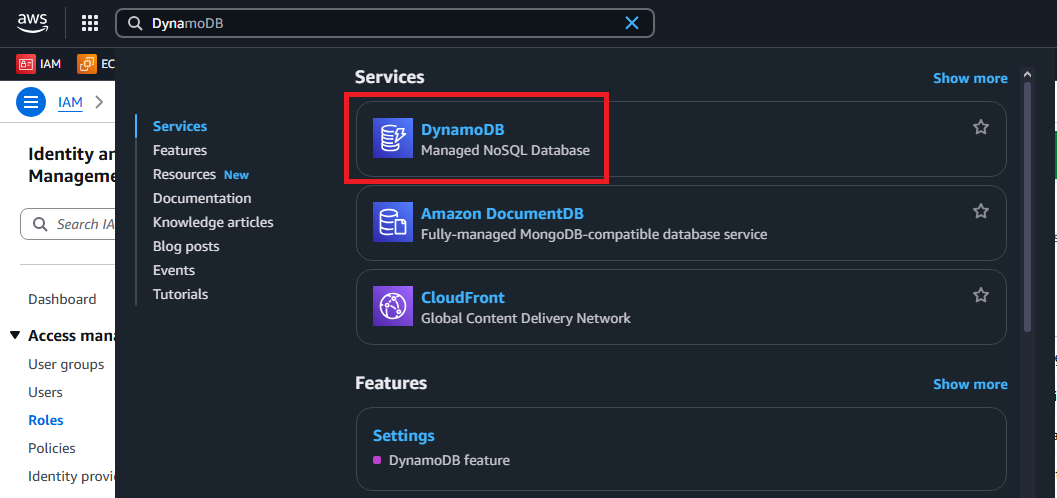
- Click Create table
- Create first table:
- Table name:
AccessCertifications - Partition key:
UserId(String) - Sort key:
CertificationDate(String) - Billing mode: On-demand
- Table name:
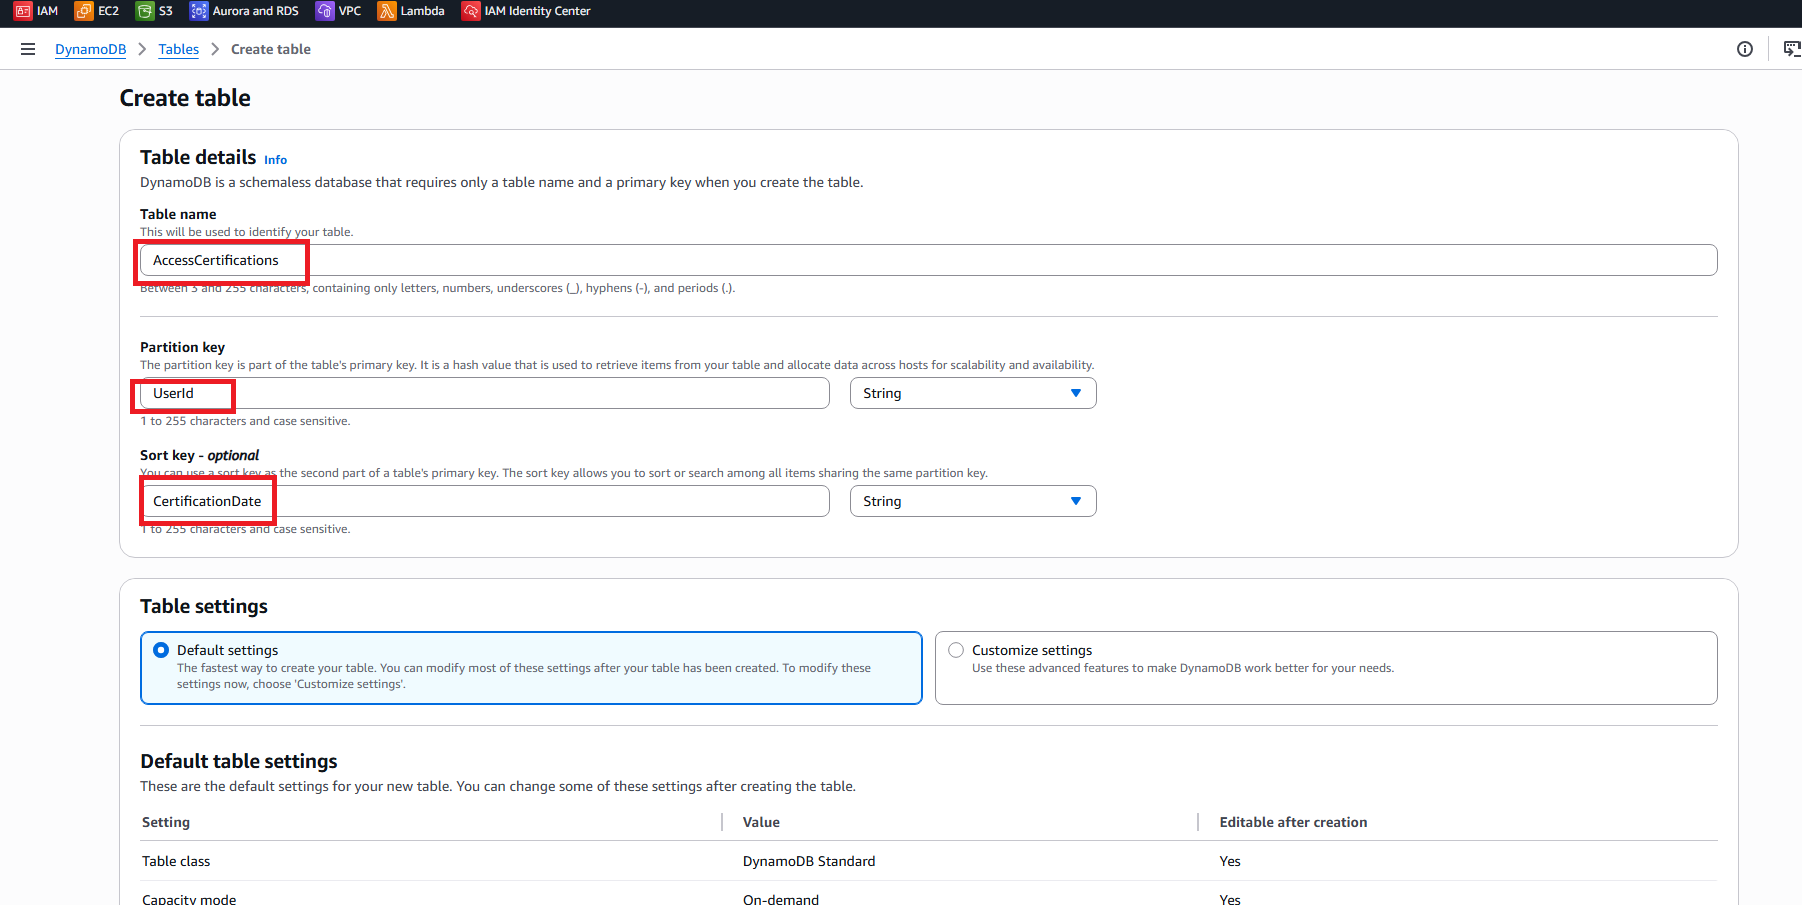
Click Create table
Create second table:
- Table name:
RiskAssessments - Partition key:
AssessmentId(String) - Billing mode: On-demand
- Table name:
Click Create table

4. Create Required IAM Roles
- Navigate to IAM service
- Click Roles in the sidebar
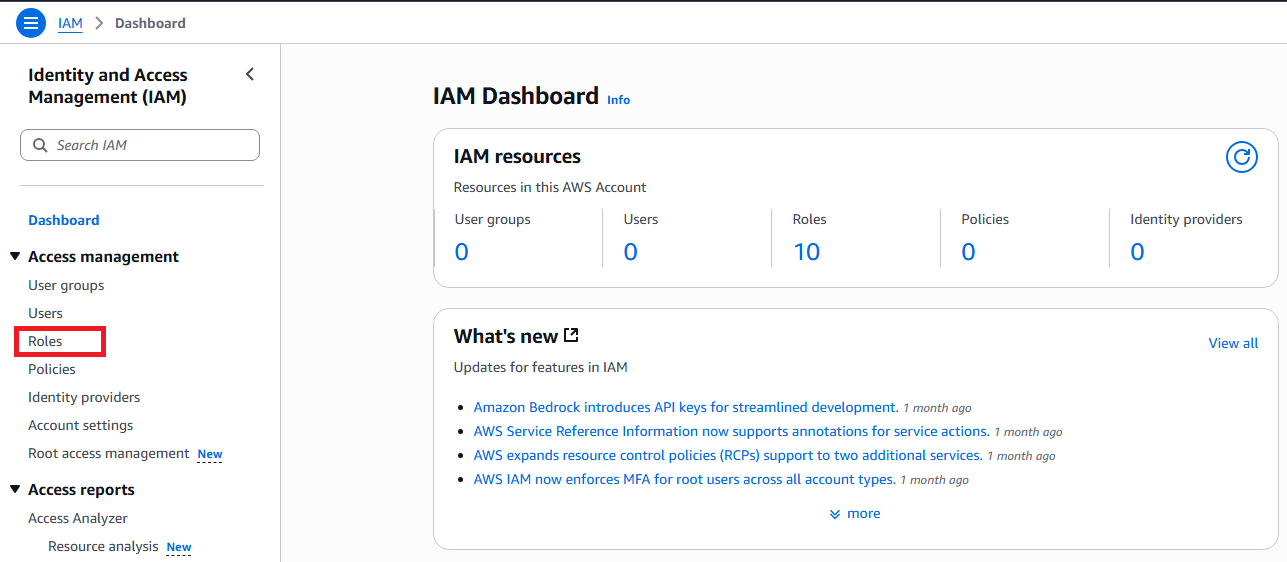
- Click Create role
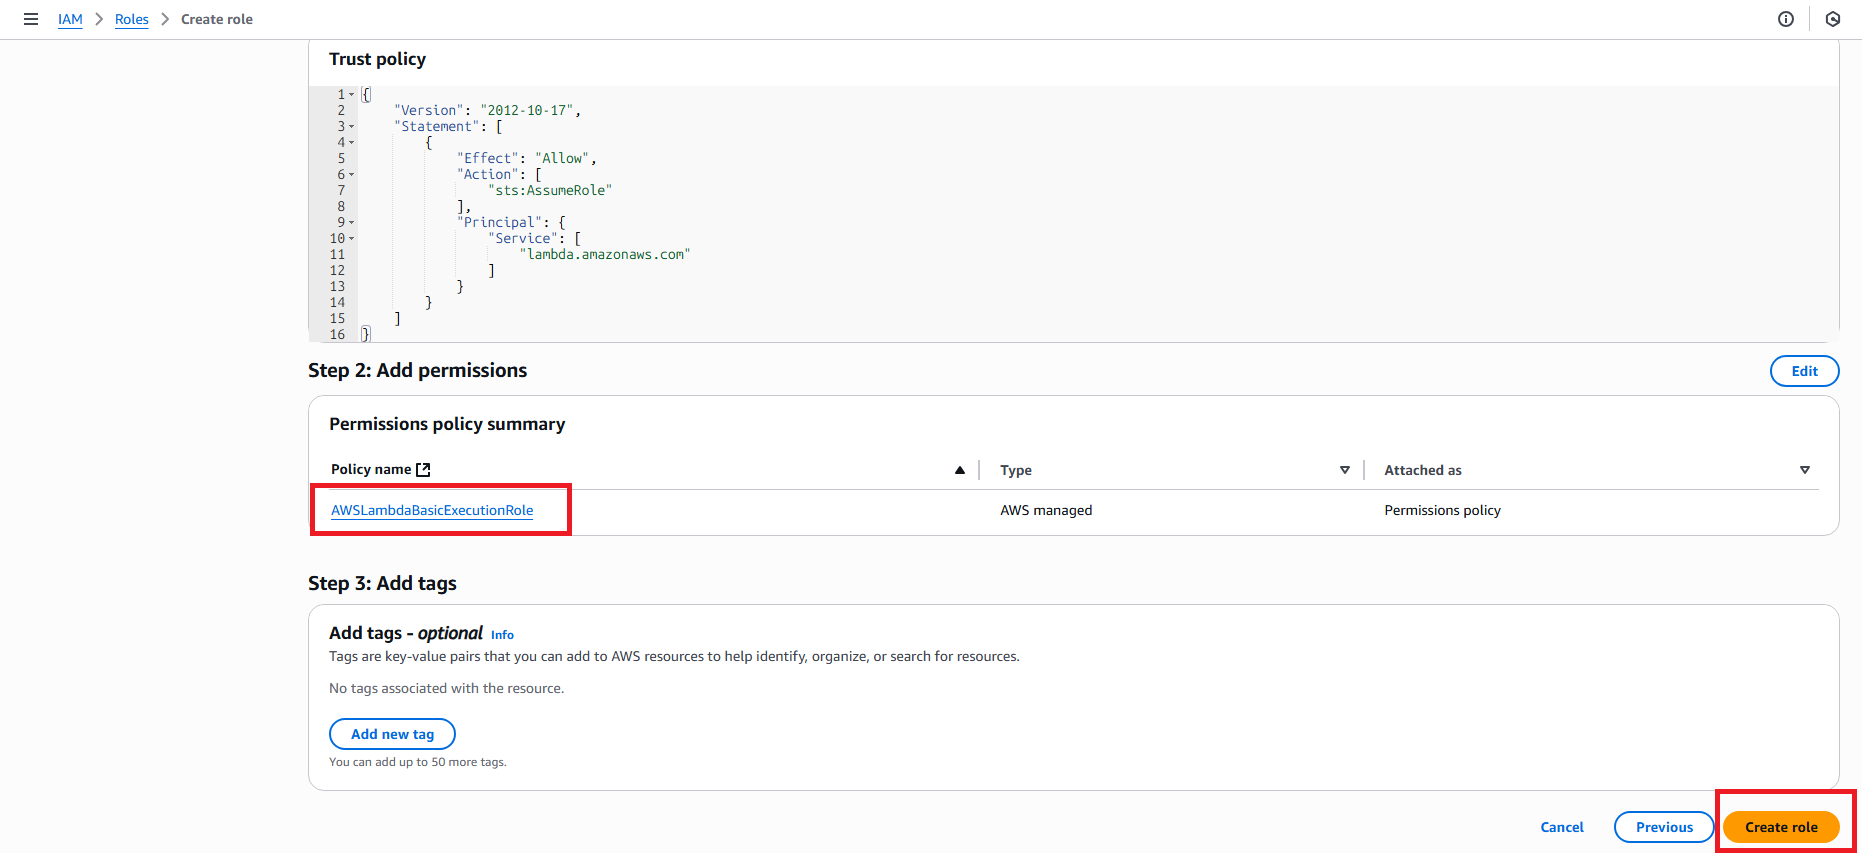
- Create role for Lambda:
- Trusted entity: AWS service
- Service: Lambda
- Role name:
IdentityGovernanceLambdaRole - Policies: Attach
AWSLambdaBasicExecutionRole
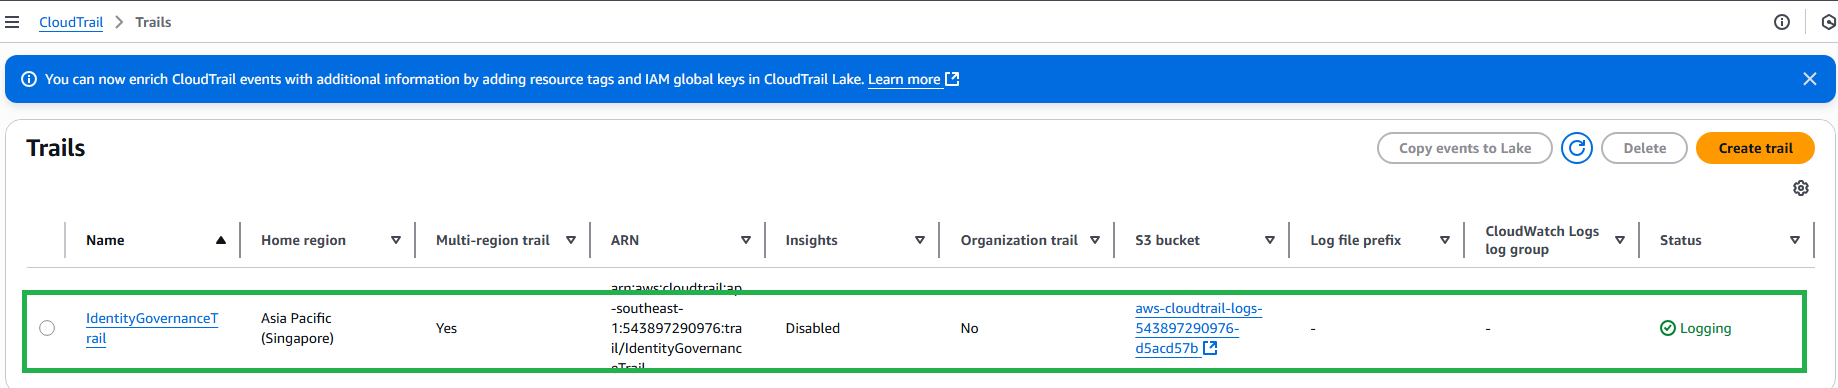
Verification
1. Check Enabled Services
- CloudTrail: Go to CloudTrail console, confirm trail is created and active
- S3: Go to S3 console, confirm 3 buckets created (2 your buckets + 1 CloudTrail bucket)
- Security Hub: Go to Security Hub console, confirm service is enabled with security score
- DynamoDB: Go to DynamoDB console, confirm 2 tables created
- IAM: Go to IAM console, confirm Lambda role is created

2. Check Access Permissions
- Go to IAM console
- Click Users and confirm current user has required permissions
- Click Roles and confirm roles are created

Expected Results
After completing the preparation steps:
- ✅ AWS Account properly configured
- ✅ Required AWS services enabled
- ✅ Base infrastructure deployed
- ✅ Permissions validated
- ✅ Workshop materials ready
Next Steps
Continue to 3. Access Governance Setup to start implementing the system.